Preserving tomatoes at home is easier than you might think, especially if you use this hot canning method and follow these tips and tricks.
There are lots of reasons to preserve tomatoes; the ability to choose the best and ripest fruit, supporting local growers, and saving money too. Here at Folk of all Trades HQ in Aldinga (Ngaltingga), South Australia, we mostly do it for the superior flavour, which is as close to fresh summer tomatoes as you can get.
Preserving salad and cherry tomatoes works fine, but they tend to contain more water and less flesh than traditional canning tomatoes so require longer boiling times. This is something to keep in mind if you go and buy a box of salad tomatoes from your local farmer’s market, or preserve some of the abundance from your own salad and cherry tomato plants.

If you can access them, the best tomatoes for canning are ‘bush tomatoes’, and common varieties include Roma and San Marzano. These tend to be available from mid-summer to autumn, and are well worth seeking out. Our top pick is organically grown Roma tomatoes from Village Greens of Willunga Creek.
Alternatively you can grow bush tomatoes yourself, which is a lovely goal to work towards. In some ways they are easier to grow than traditional climbing, or indeterminate tomatoes, as they don’t need pruning and only require the most basic structure to keep them off the ground. This year we grew 3 varieties of bush tomatoes; Roma, San Marzano, and Amish Paste. All three have performed very well, but if we could only choose one, it would be San Marzano, which grew and fruited vigorously, was not affected by blossom end rot (a common tomato growing problem), and has dense delicious flesh and not many seeds. From a 5 meter, single row of 9 plants, we have harvested around 60kg of tomatoes so far – more than enough to preserve and share!
It’s a good idea to rinse all your tomatoes from any dust they might have accumulated. This also gives you the chance to inspect each one for damage, blemishes, or mould. Some people do not include anything but perfect fruit, whereas I put any dodgy ones aside and make sure I cut off a generous amount near the damage. Mouldy fruit should be composted at home or through council green waste collection. While washing you can also snap off any green stem that might still be on the fruit – another reason to love Romas and San Marzanos is that these come away easily. A small paring knife can help remove any green stem that won’t easily pull away.
Once rinsed the next step is to cut your tomatoes open, and for this a serrated knife works very well. Unless a chef or paring knife is razor sharp it tends not to slice through the skin of tomatoes well and can cause unnecessary crushing, which means more juice and flesh on your cutting board. We sharpen our chef’s knife before it’s time to start cutting.
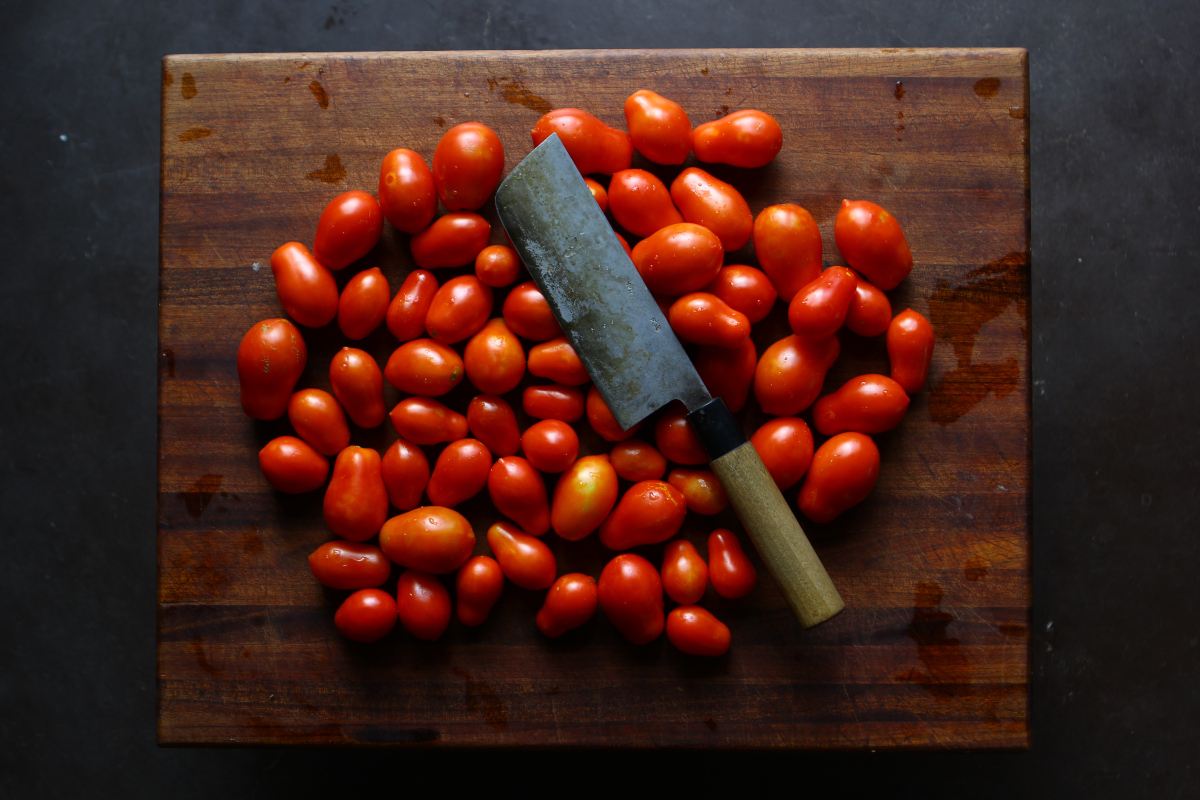
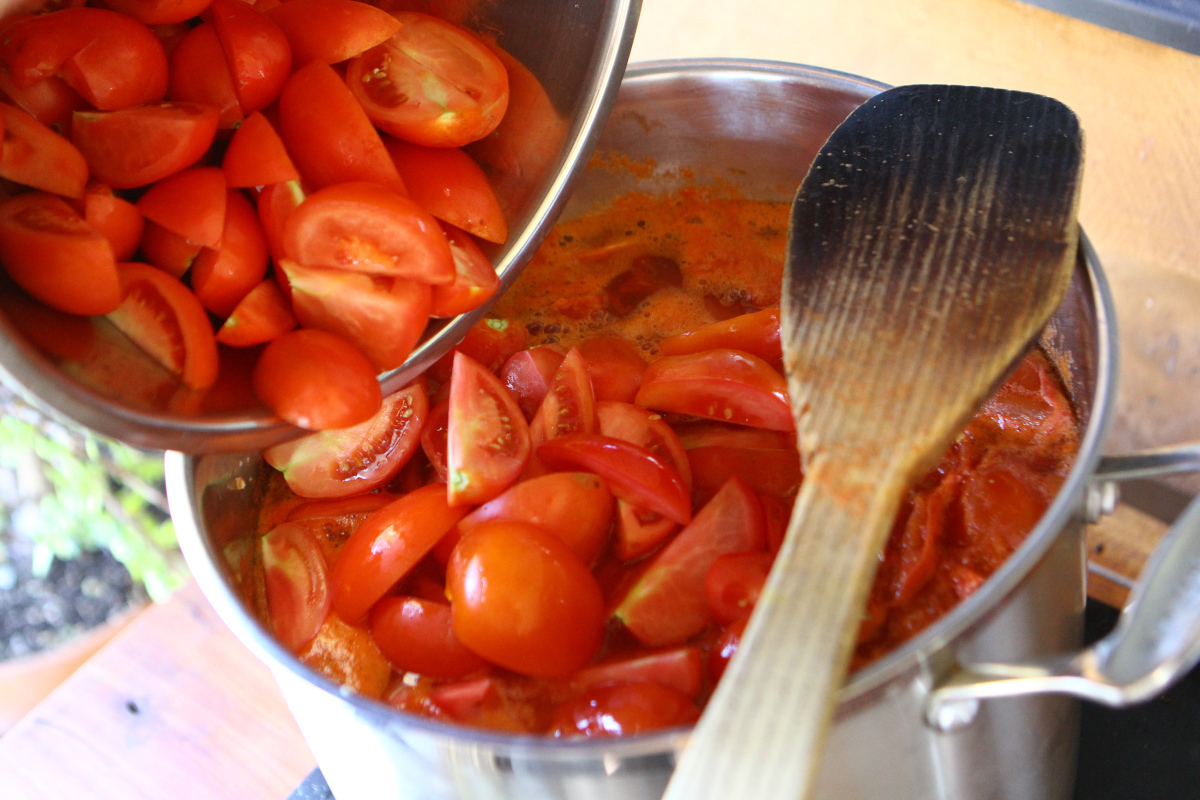
How much you cut the tomatoes depends on personal preference, but for us we only cut the tomatoes in halves or quarters. In traditional passata making, the tomatoes will go through a mill or moulin to remove seed and skin, but we’ve never had access to one of those and don’t mind leaving those bits in the final sauce (more fibre!). The skin won’t break down as it cooks though, so you may want to cut the tomatoes into smaller pieces, or alternatively, use a stick blender to make a smooth passata-like sauce.
For a 10kg box of tomatoes, you’ll need a 10L or larger pot. It’s great if you can find one that has a thick base, as this will reduce the amount of stirring you need to do. If it only has a thin base, that’s ok - you’ll just need to stir more frequently to avoid scorching. Once the tomatoes are up to boil, reduce to a gentle simmer and allow to reduce. How thick you want the sauce is a personal preference, but we tend to boil until the liquid has dropped between 5 and 10cm from its original level. This usually takes 2-4 hours. If it’s hot weather, this is a great thing to do outside so you aren’t heating your house up and filling it with tomato steam, even though it smells delicious!
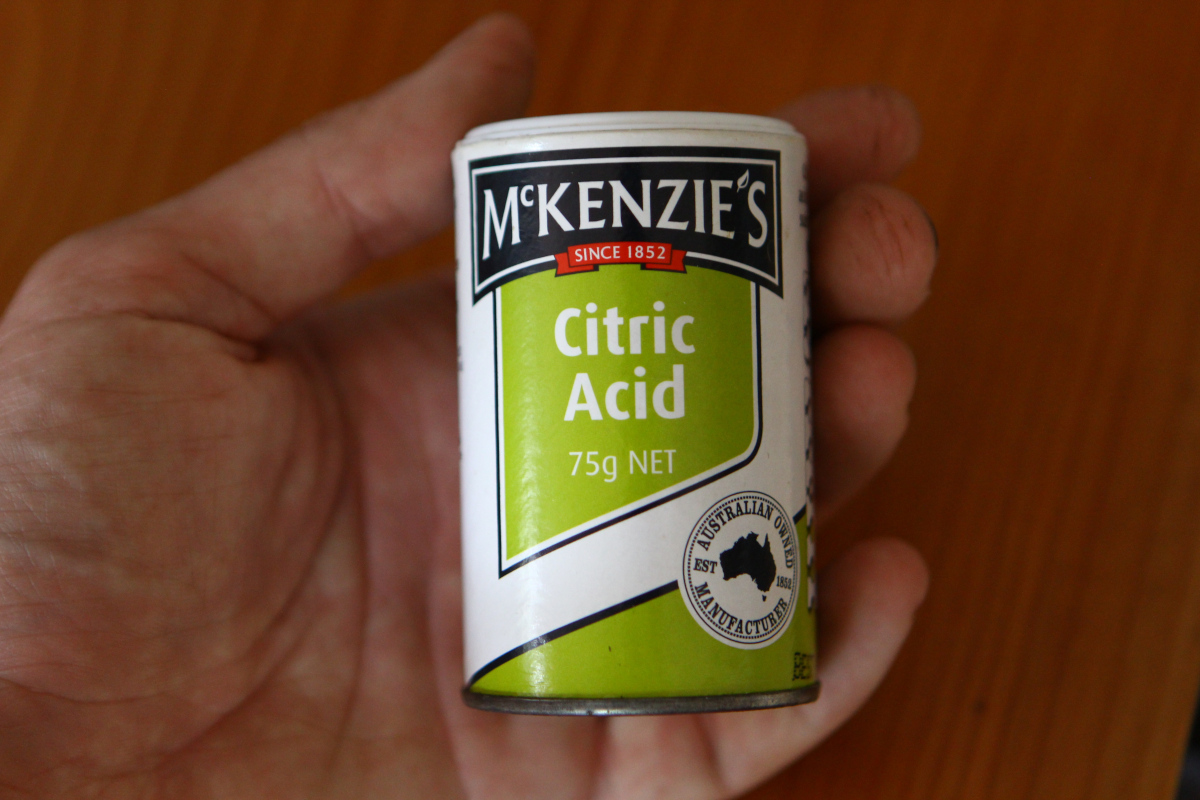
It’s a good idea to add some citric acid or lemon juice to your sauce while it is cooking. This reduces the pH of the sauce and makes it more acidic, which helps ensure microorganisms like bacteria cannot survive. How much to add depends on the tomatoes, but if you taste the sauce it should have a slightly acidic bite. If you have pH testing strips you want it to be pH 4.6 or lower. A rough rule of thumb is to add 1 teaspoon of citric acid / 4 tablespoons of lemon juice to every 2 litres of tomatoes.
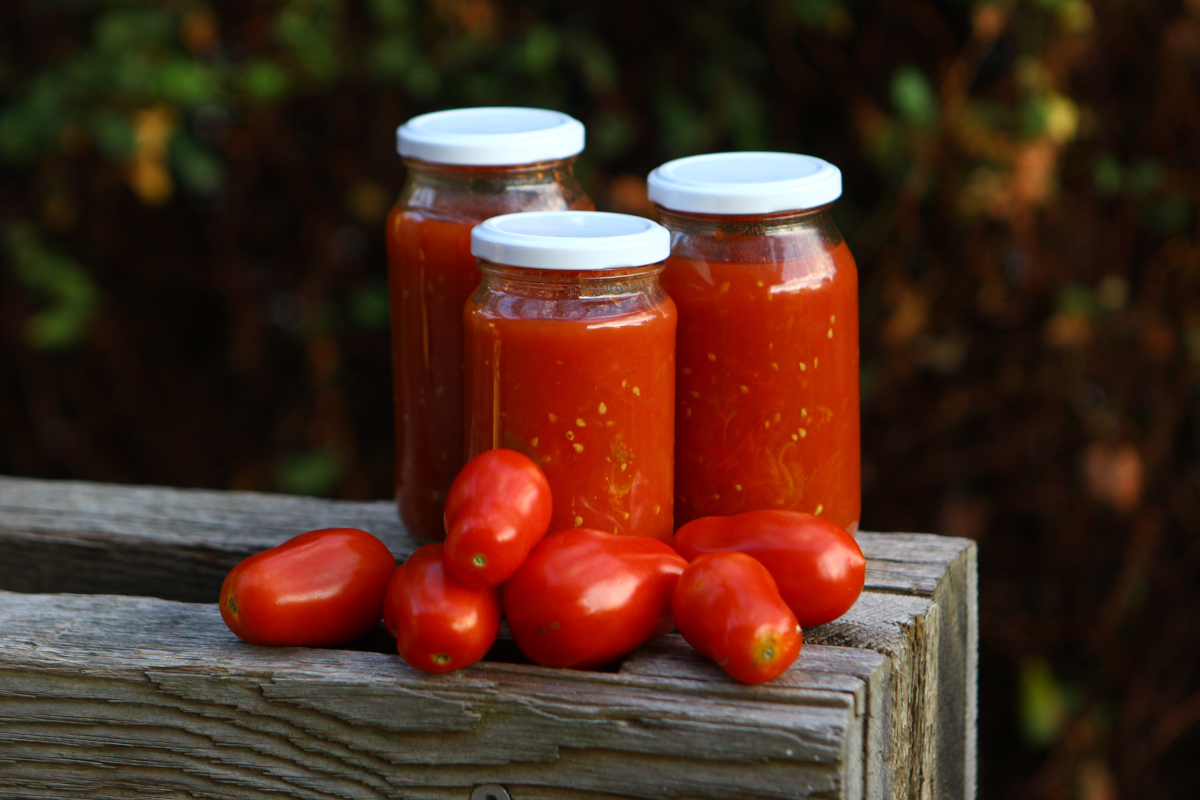
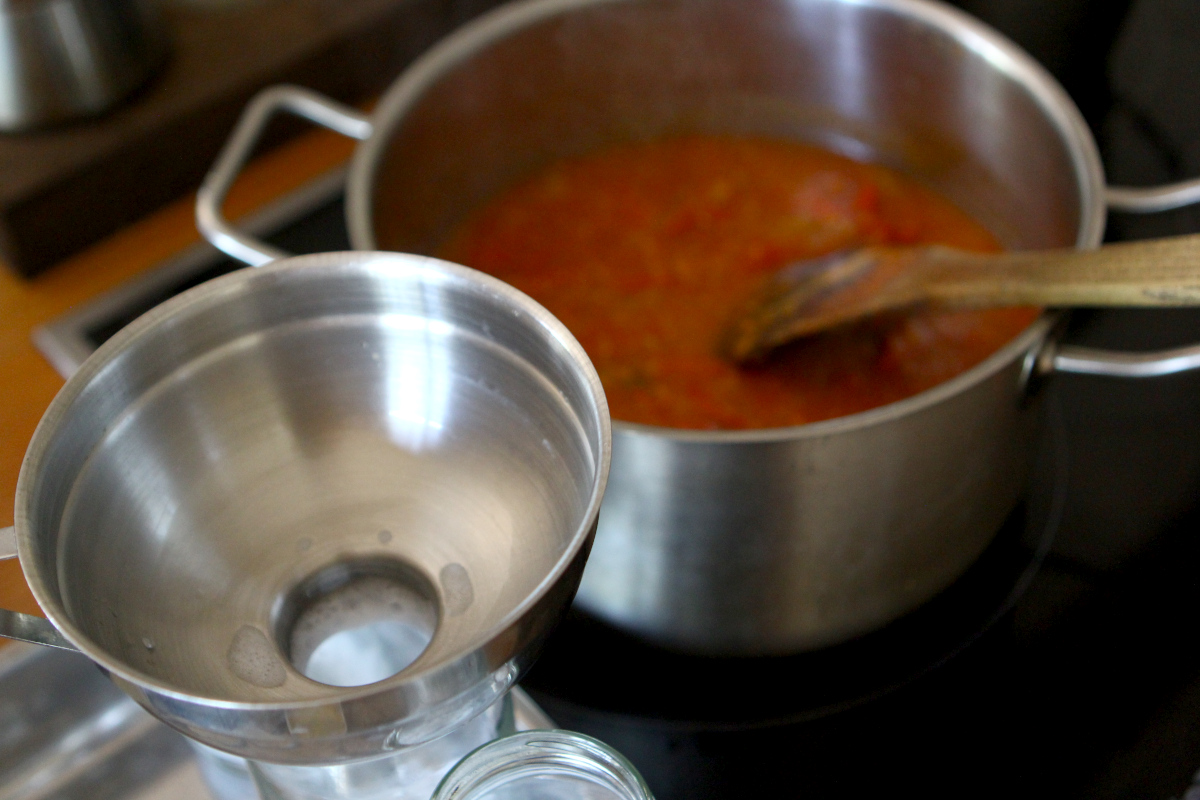
Once the sauce has reached the consistency you like, it’s time to ‘can’ them; which in our case is preserving them in glass jars. Unlike water bath canning, which is when you place full jars in water and then boil everything, hot canning is simply putting the boiling hot sauce into a sterilised jar. This means you need less equipment and can do more jars at once than the number that would typically fit inside a pot.
To prepare your new or recycled jars, first make sure they are very clean. This can be done by washing carefully by hand in hot soapy water, or putting them in the dishwasher.
Once they are clean it’s time to sterilise, which the hot rinse on a dishwasher will achieve, but you can also use a sterilising solution that’s easily obtained at homebrewing shops or online. The one we use is StarSan, which is an acid-based food safe sanitiser that does not require rinsing before use. The important thing to note is that a sanitiser cannot effectively sanitise a dirty jar, so they must be clean to begin with. I like to sanitise with warm water, which helps pre-heat the jars and avoids cracking them when you ladle in the boiling hot sauce.
Lids must also be sanitised, and it is possible to re-use old lids – the way to check whether their seal is still effective is by shaking the jar vigorously with a little liquid inside. If no water comes out then the seal is usually ok. You can also buy new lids for recycled jars from places like Gaganis Brothers in Adelaide. Just make sure the lids suit the jars you already have.
Once the jars are pre-warmed and sanitised, bring them as close to your boiling pot as possible. I put an oven tray under the jars just in case of spillage. Carefully ladle the boiling sauce into your jars and don’t attempt to hold the jar – it will get very hot! Unless you have very wide-mouth jars, a canning funnel will make things much easier. This also needs to be sterilised before use. Once you’ve filled a few jars, pause to screw the lids on tight, but not so far that you break the seal. Keep going until all the sauce is used up – the awkward bit that’s left over can be mixed into pasta or used for the next meal you’re making.
Now you can let the jars cool, and ideally keep an eye on them for a few days somewhere visible. The lids should suck down with vacuum pressure as the sauce cools, and any that do not should be put in the fridge and used within the week, as the seal has not properly formed. Store the jars in a cool and dark environment, and keep an eye out for mould forming on the top. Preserving at home is rewarding in itself, but the real joy comes from opening that jar months from now for a delicious meal shared with family and friends.
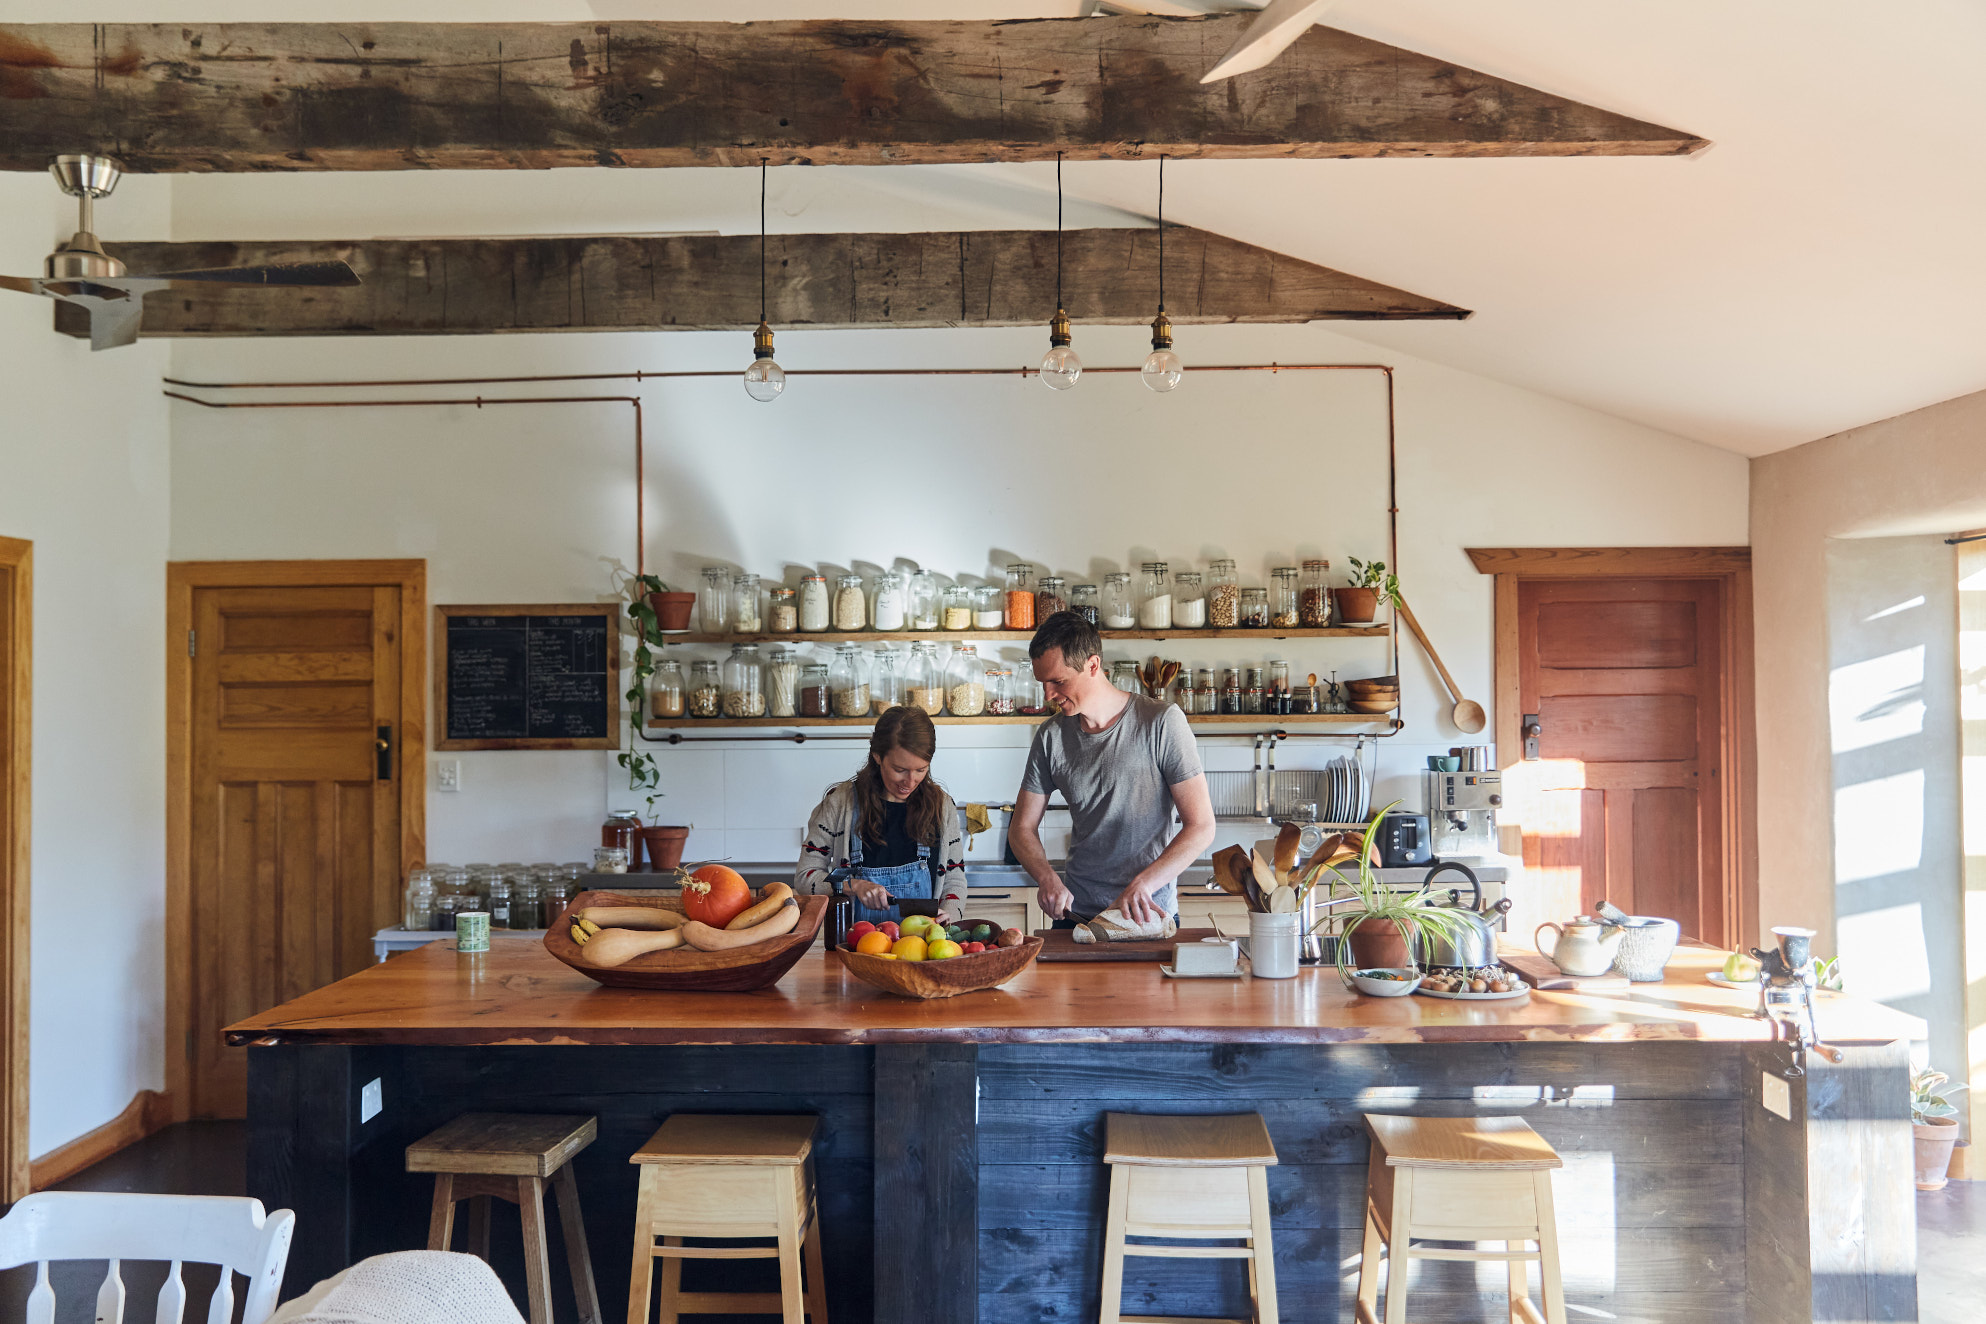
We're Folk of all Trades – also known as Dani and Sam.
We host sustainability workshops online and in-person across southern Tarntanya (Adelaide), in South Australia.
We teach all sorts of simple living skills, from making sourdough, kombucha and other natural ferments to growing organic veggies, natural beekeeping and even how to carve your own wooden spoons.
Content credit to Folk of all Trades and a big thanks to our partners @GreenAdelaideSA